Do you struggle to get a comfortable left hand position on guitar? Or maybe you can't quite get your thumb in just the right space.
Getting proper and comfortable left hand and thumb positions on guitar can be a little elusive. I'm going to show you the best left hand positioning to get beautiful guitar chords!
Thumb Position On Guitar
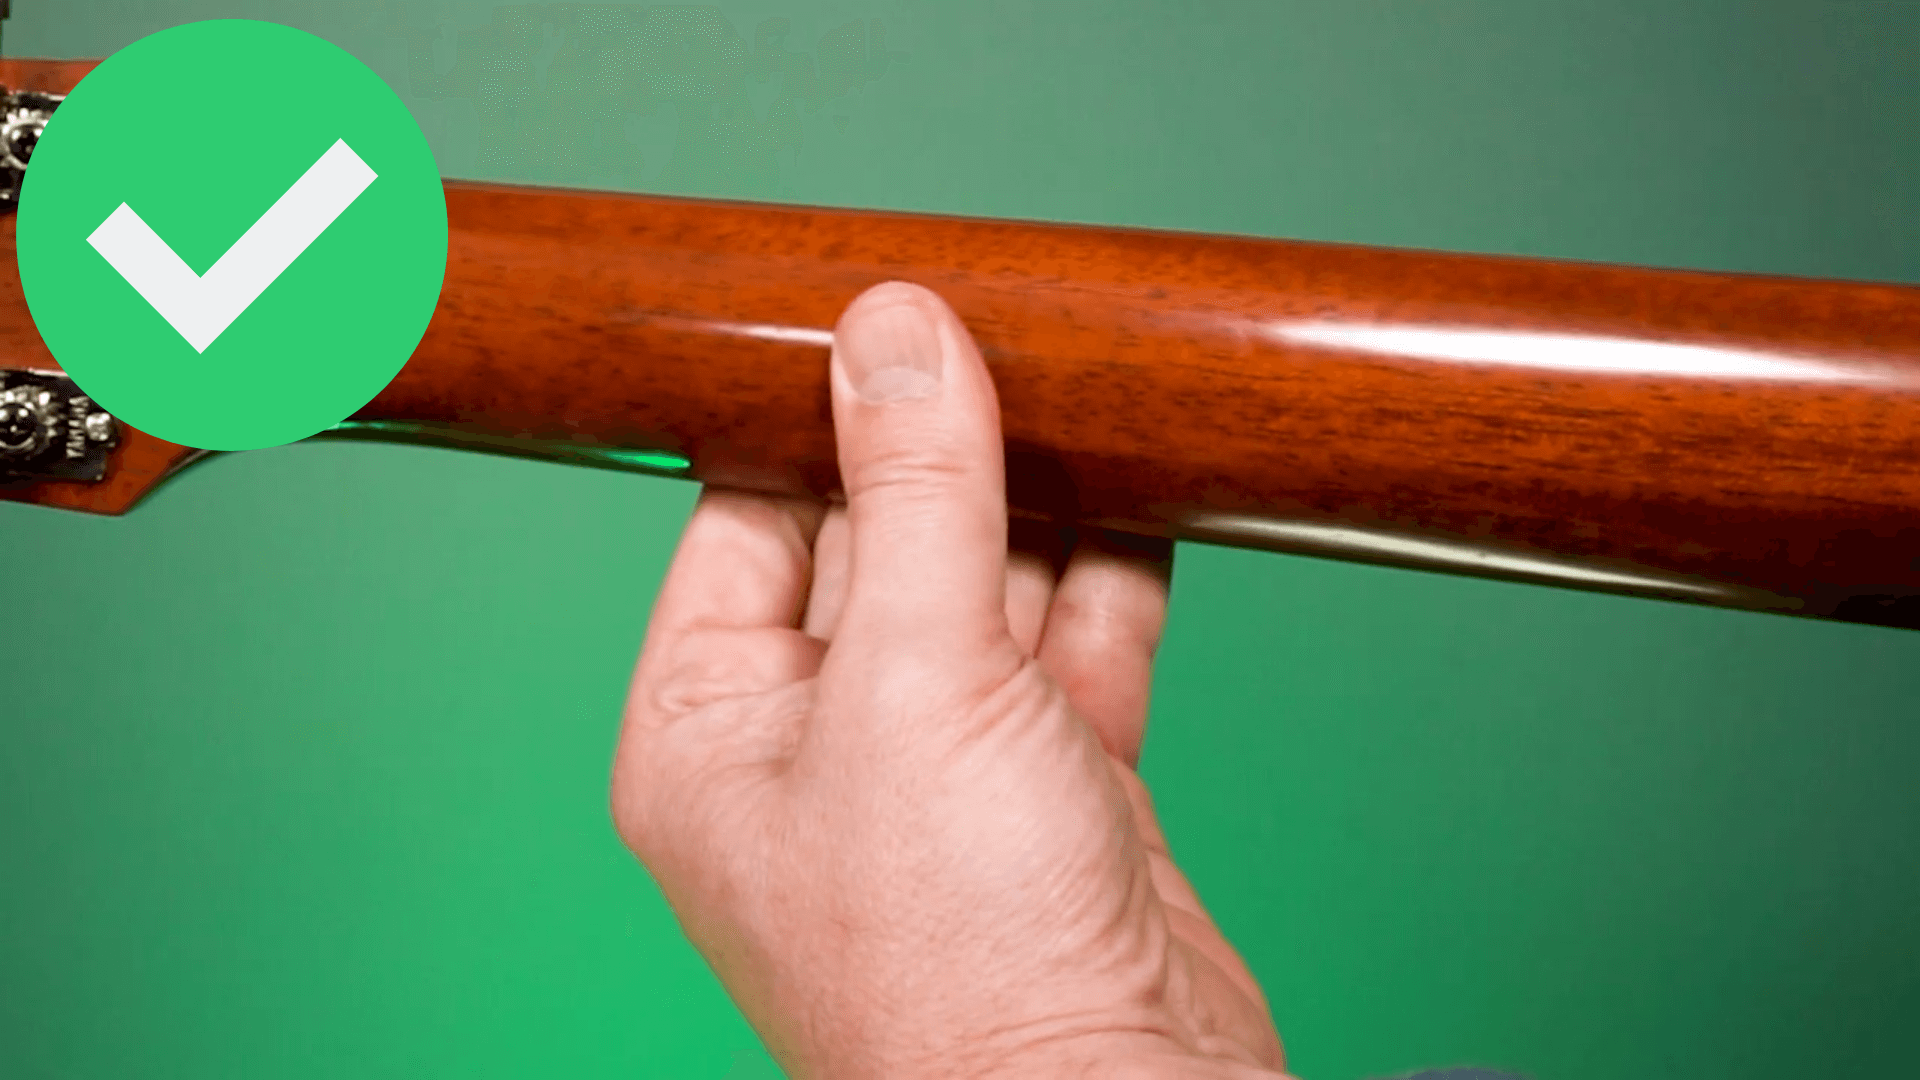
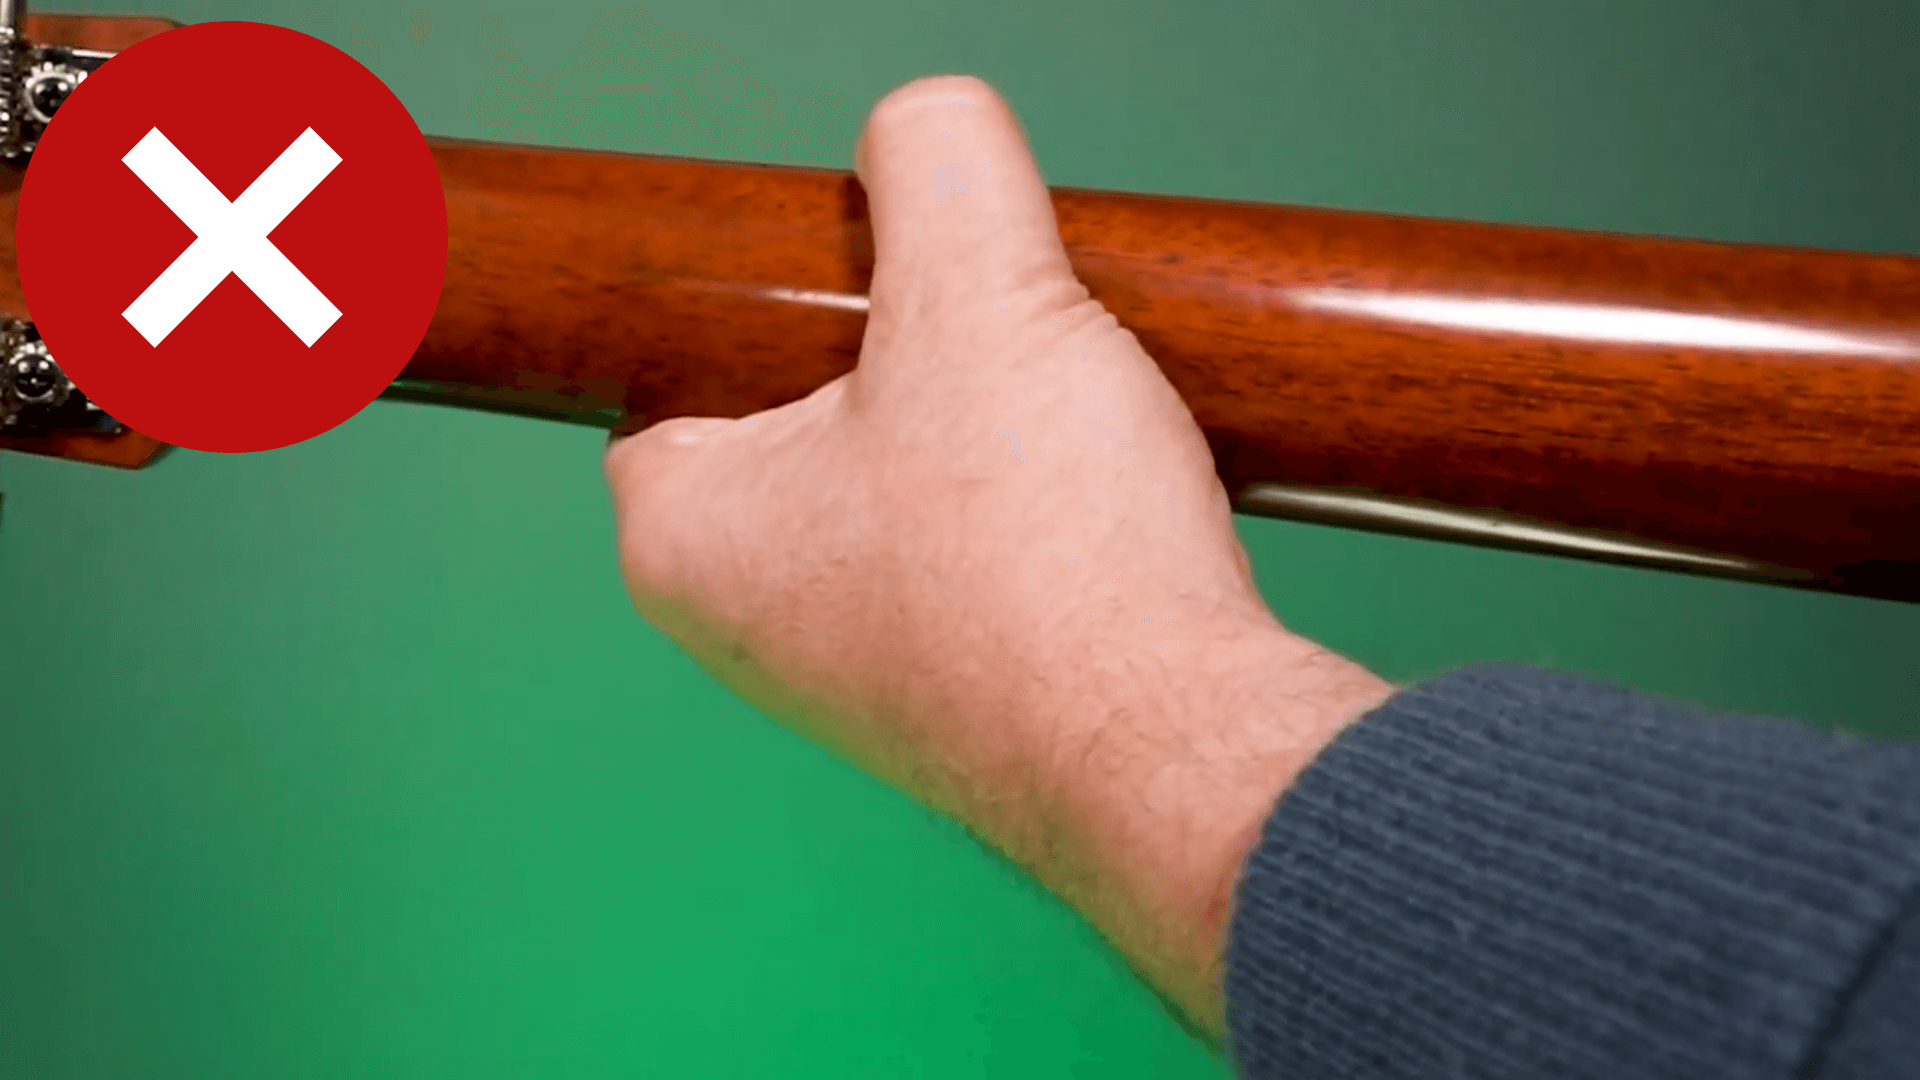
Let's start with the thumb position. Your thumb is the anchor for your left hand. I should start by saying that thumb positioning will vary by person, the size of your hands, your own flexibility, and so on.
But a good place to start it to get the pad of your thumb around the center of the back of the neck. If you place it too high or too low you're losing leverage and will have to press harder.
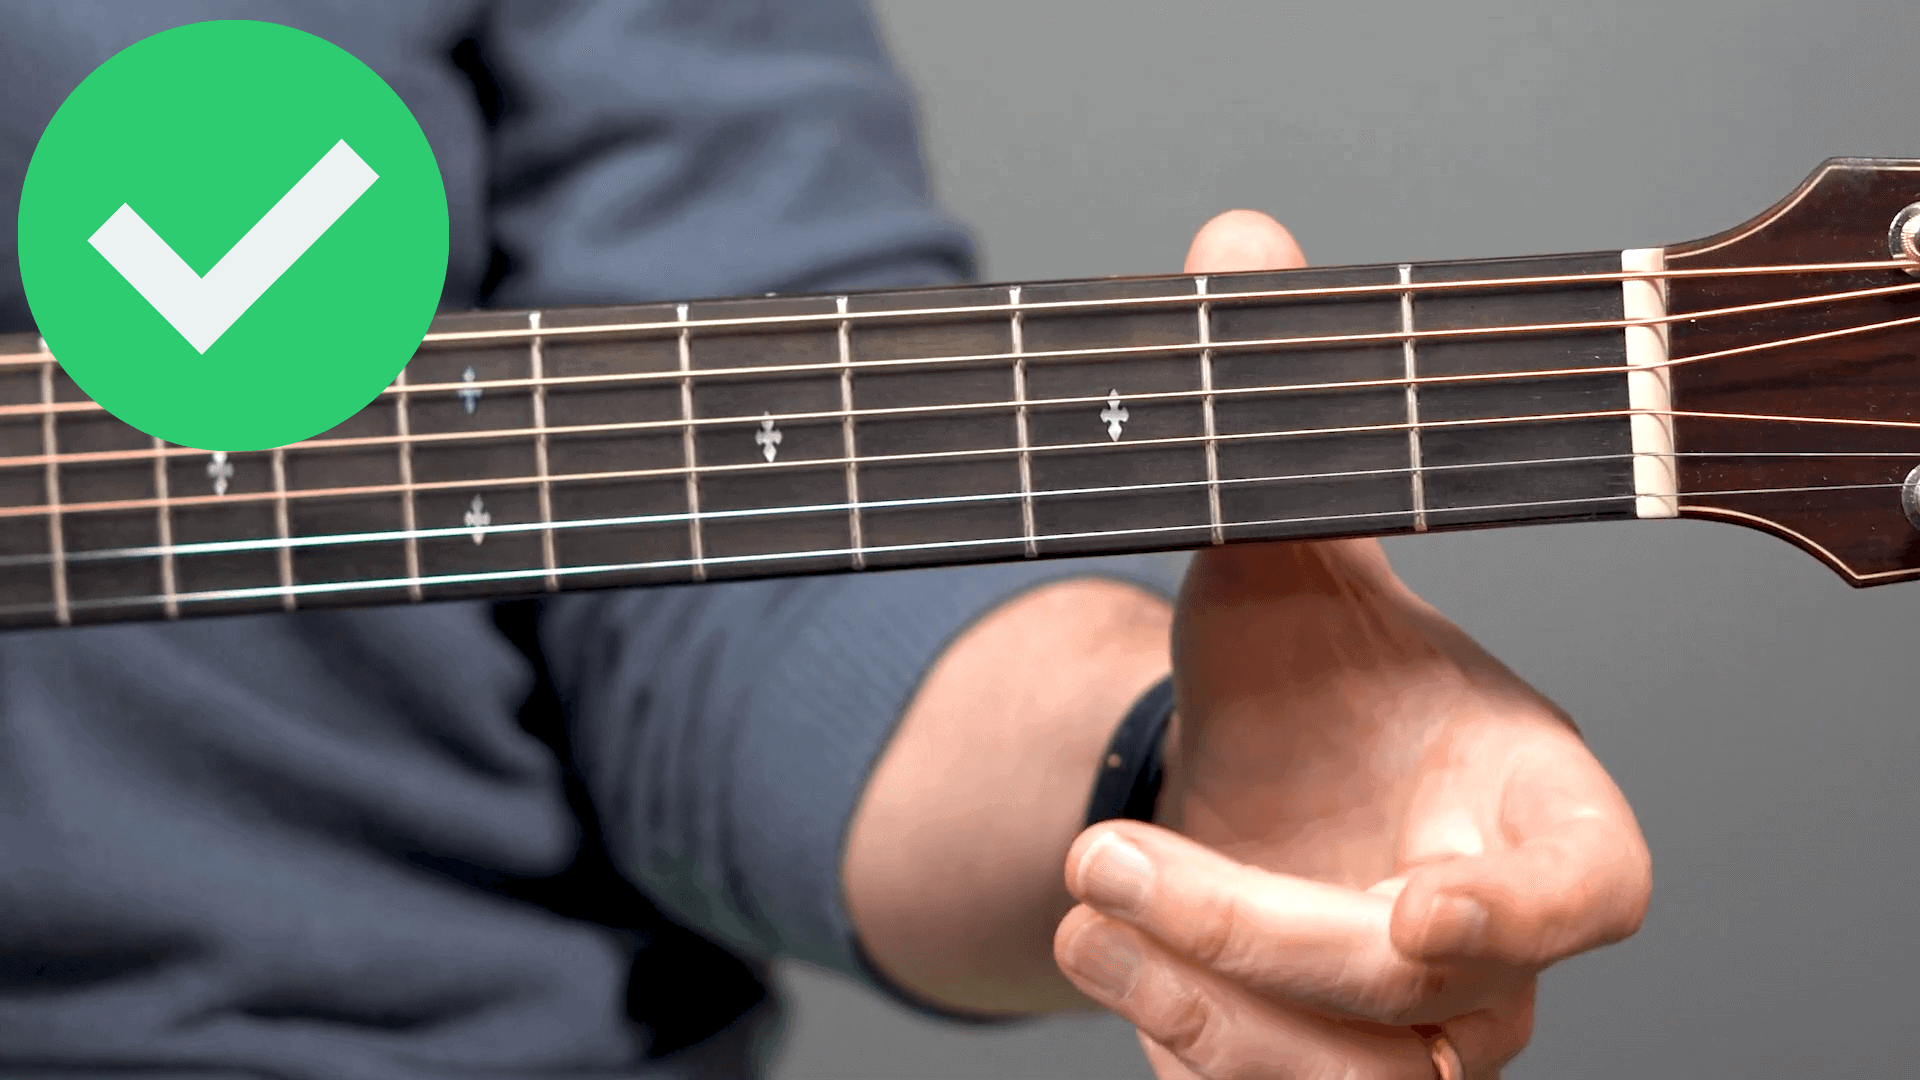
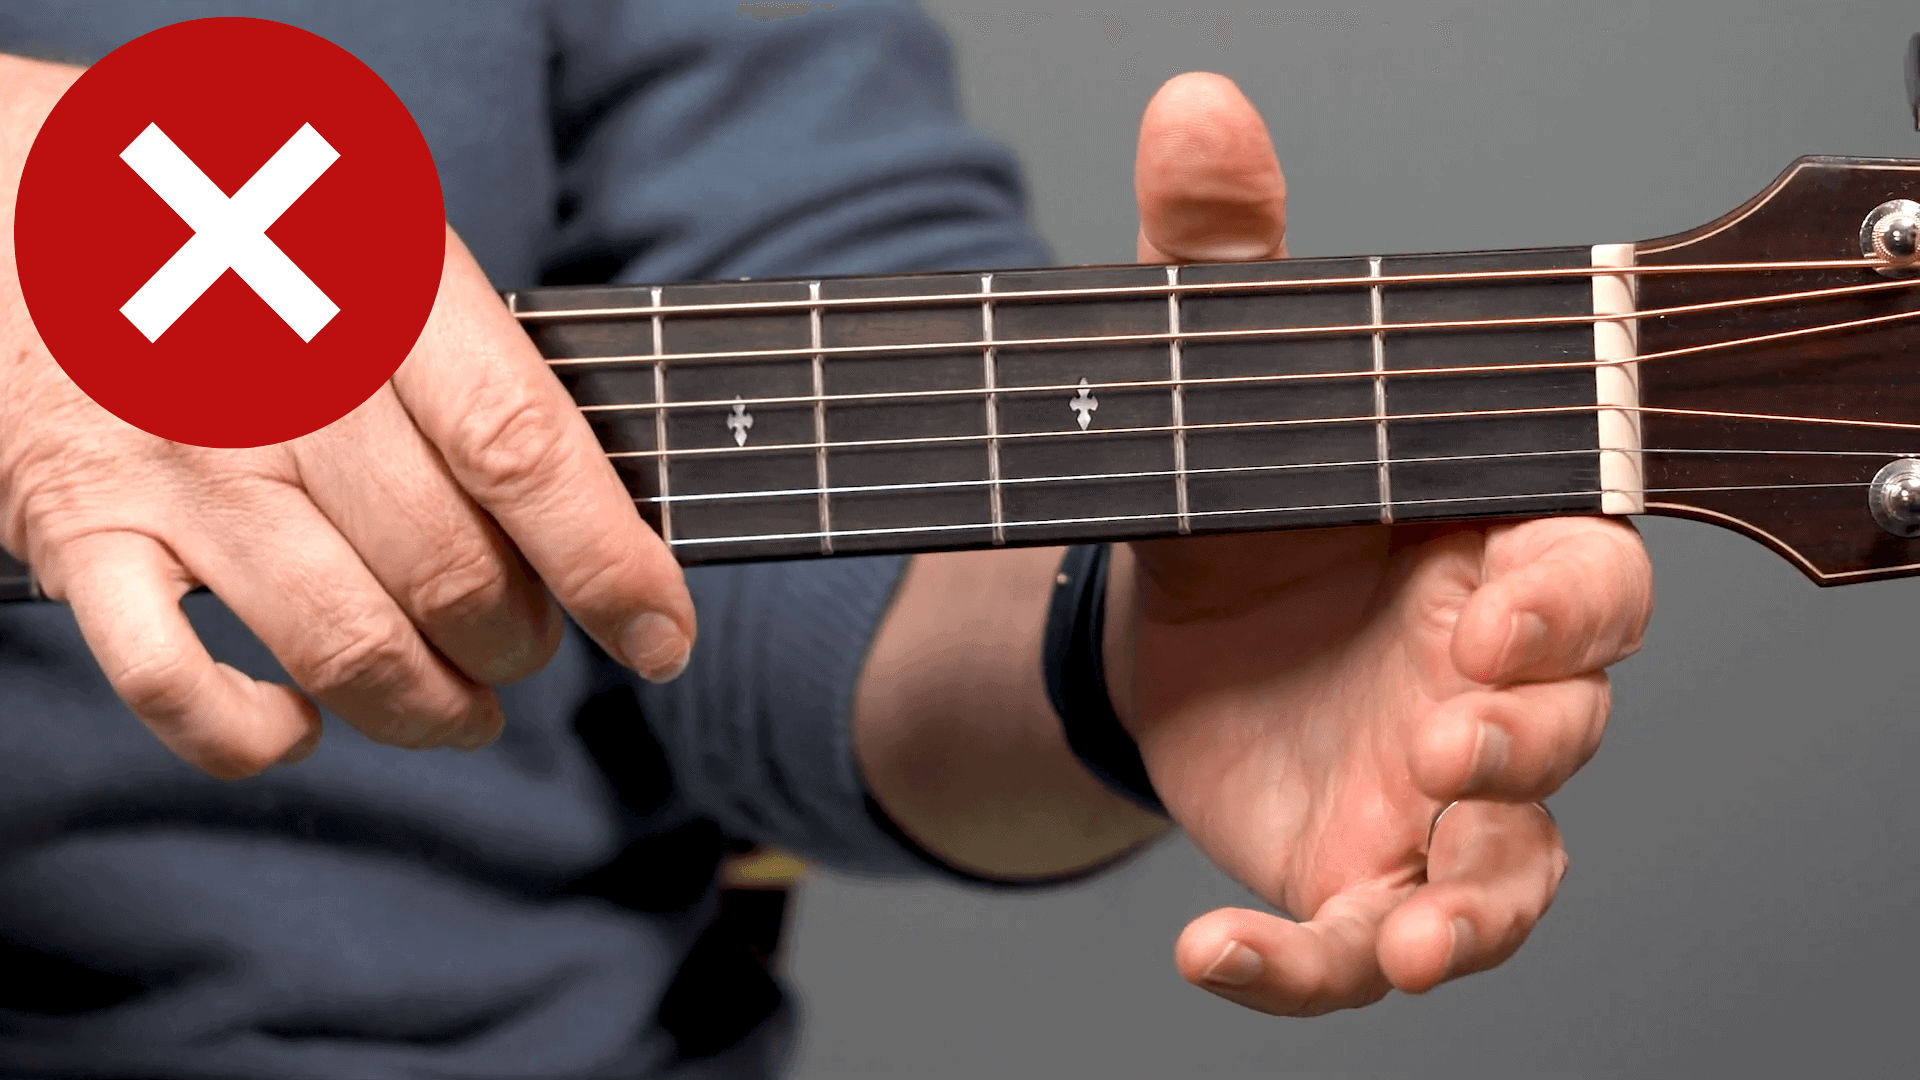
You want to get it roughly to a place where if you formed a chord, your fingers would be pressing into your thumb. This will let you play chords without having to squeeze too hard.
Let's do an experiment. Fret a G chord on your guitar. Now, place your thumb right in the middle of the neck and strum the chord. Next, move your thumb down and strum.
Lastly, move your thumb a little higher than dead center and strum. Which position felt the best to you?
Now that you've found a good position, keep in mind that your thumb position will move. Sometimes you'll need to wrap your thumb over the fretboard to play some chords, or do bends.
Some chords will make you slide your thumb down more to fret them cleanly. The thumb position you had on the G chord example will be the "most of the time" thumb position.
Finger Position On Guitar
OK, so you have a solid anchor with good thumb positioning. Now let's move onto the fingers that will fret the chords. First, let's talk about what I mean when I say to 'fret a note'.
When you fret a note, you're going to place your finger just behind the fret. You want to get as close to the fret as possible without being on it.
If you were to place your finger directly on the fret, or too far behind the fret, you'll get a buzzing or a dead note.
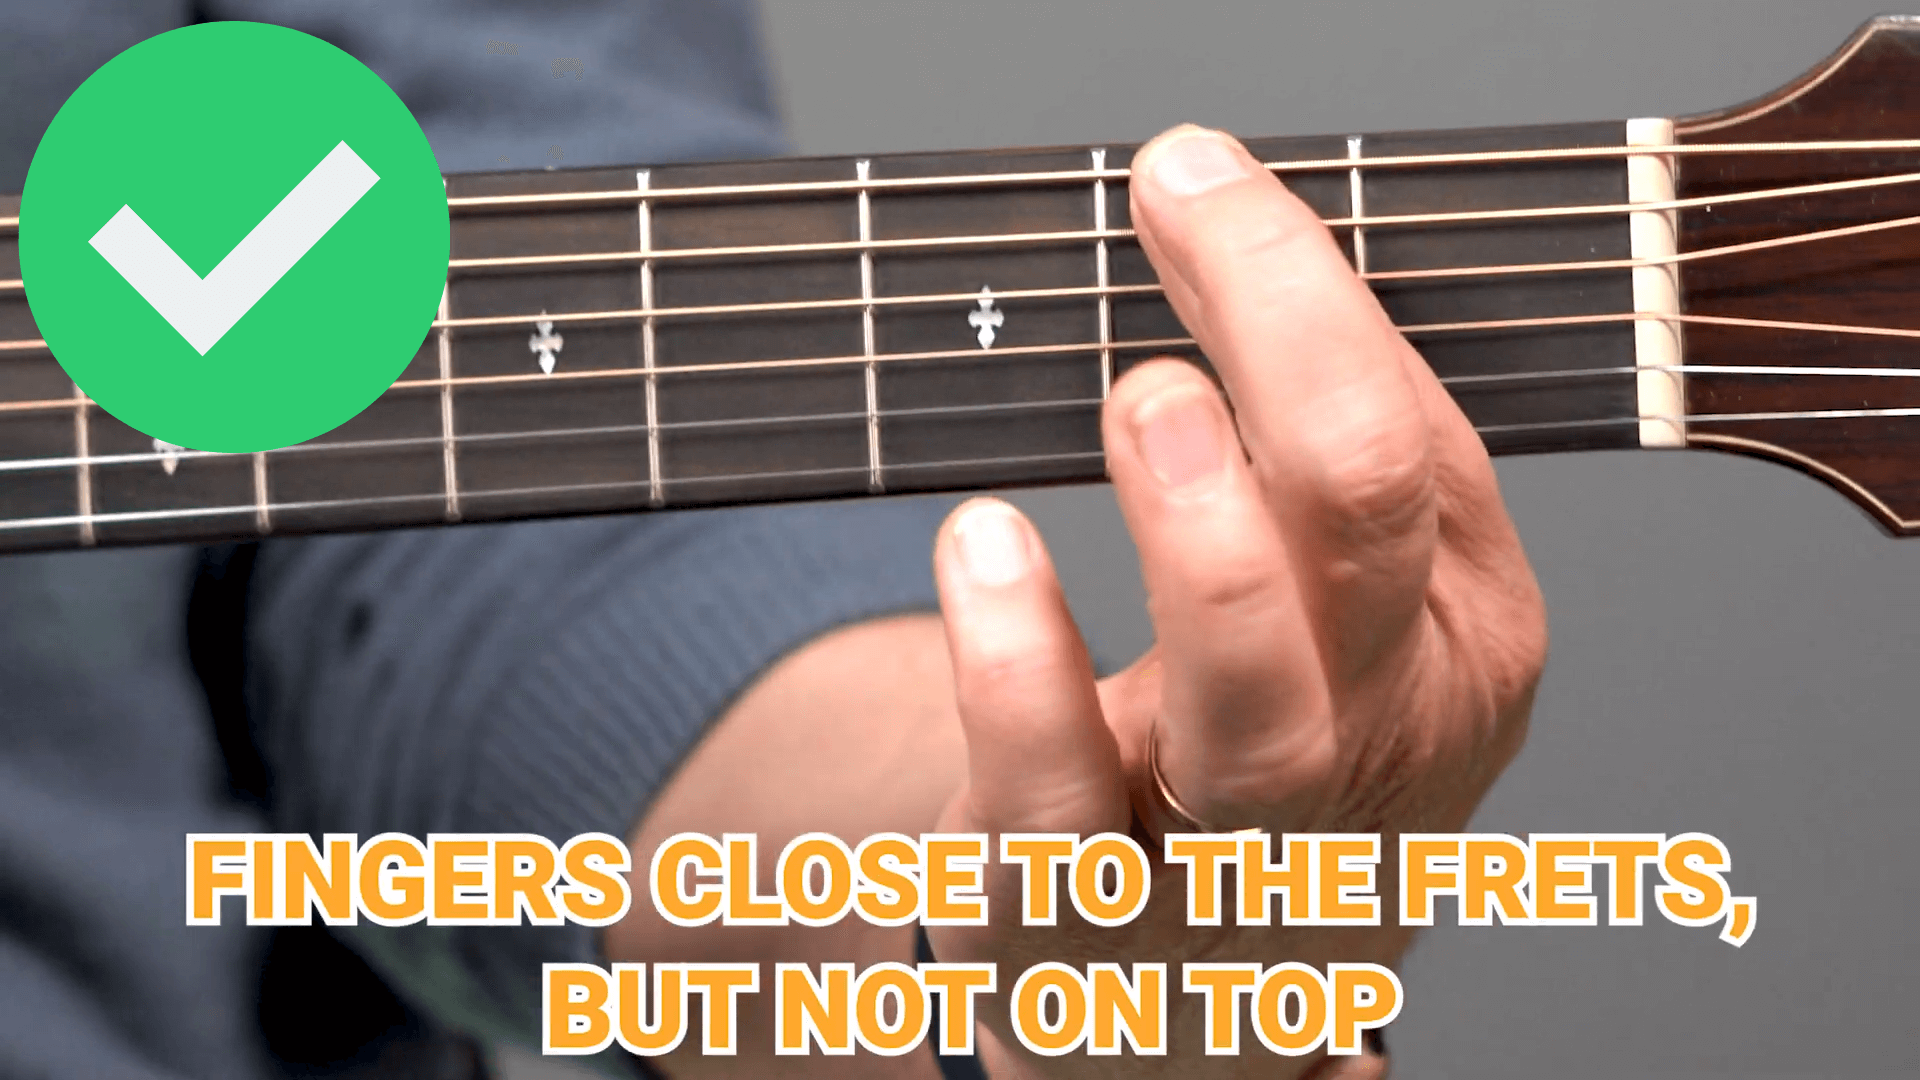
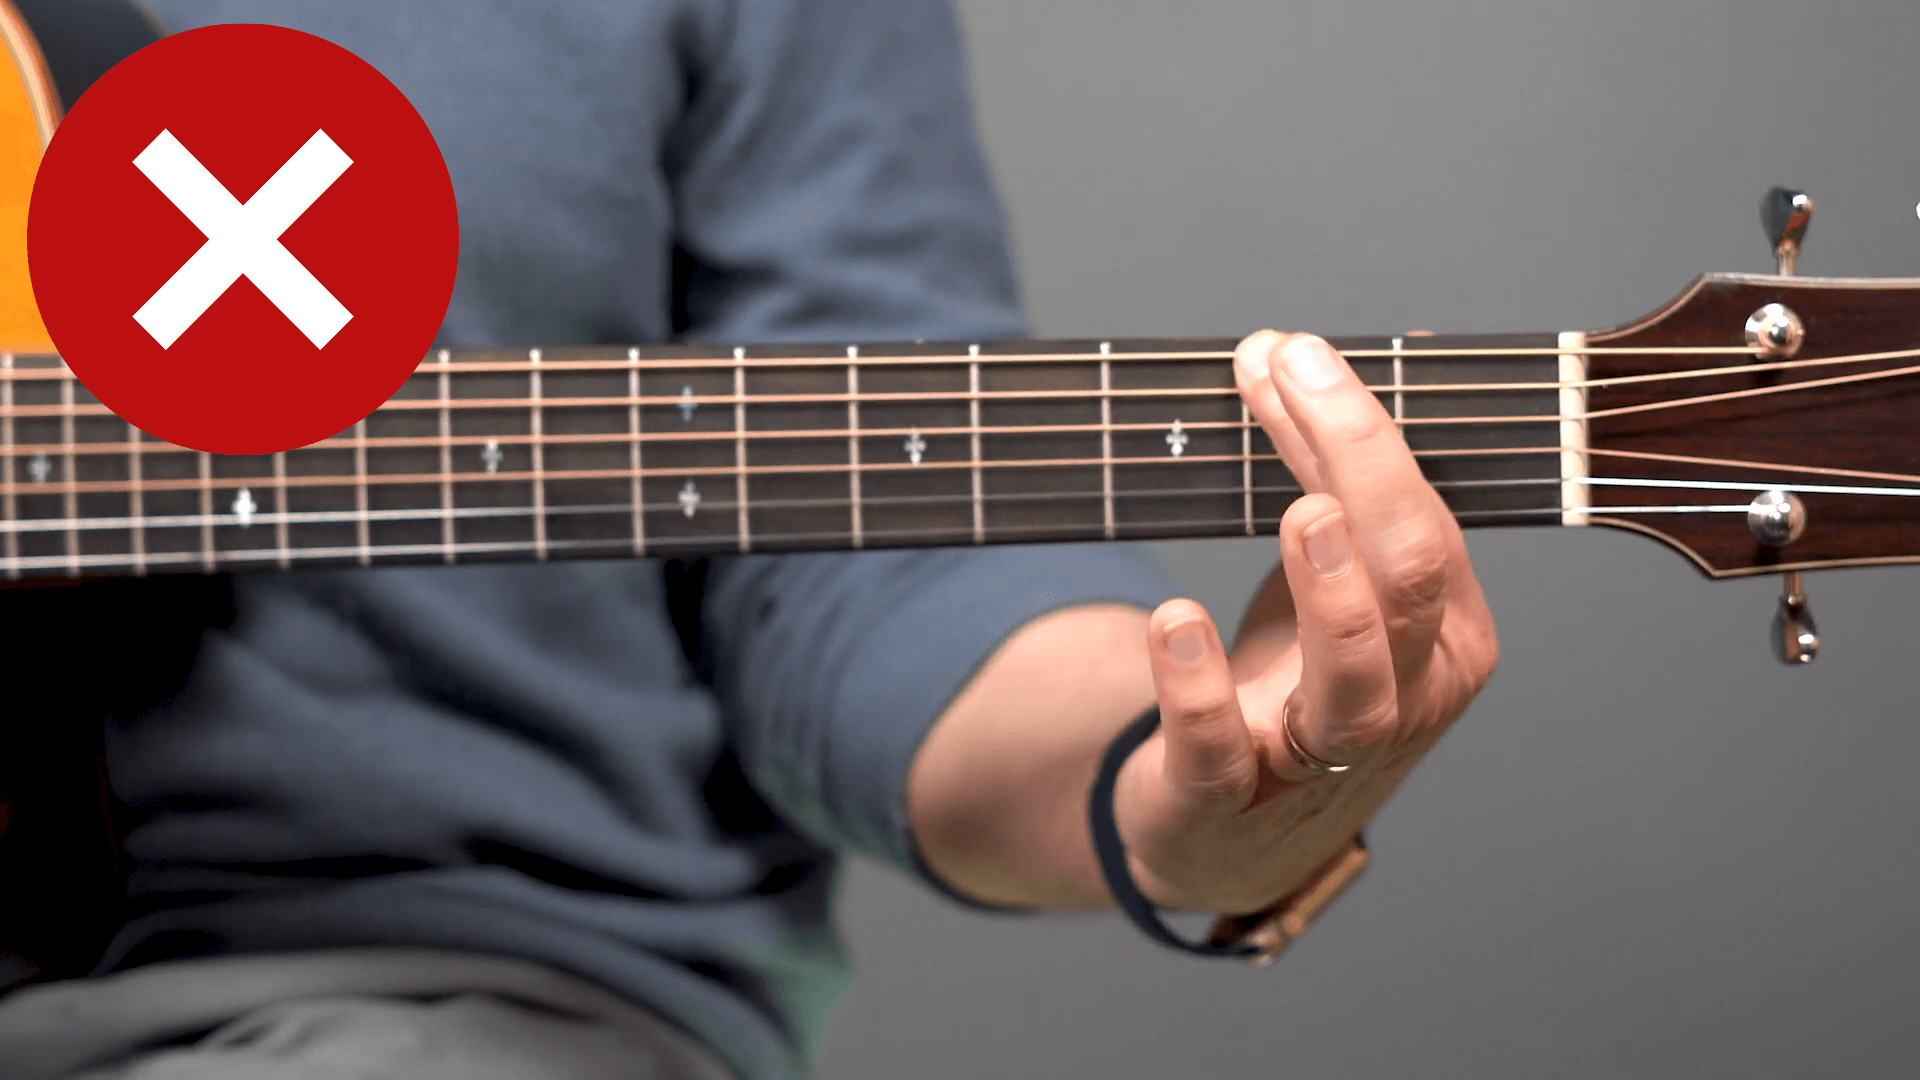
Finger on top of the fret deadens the sound.
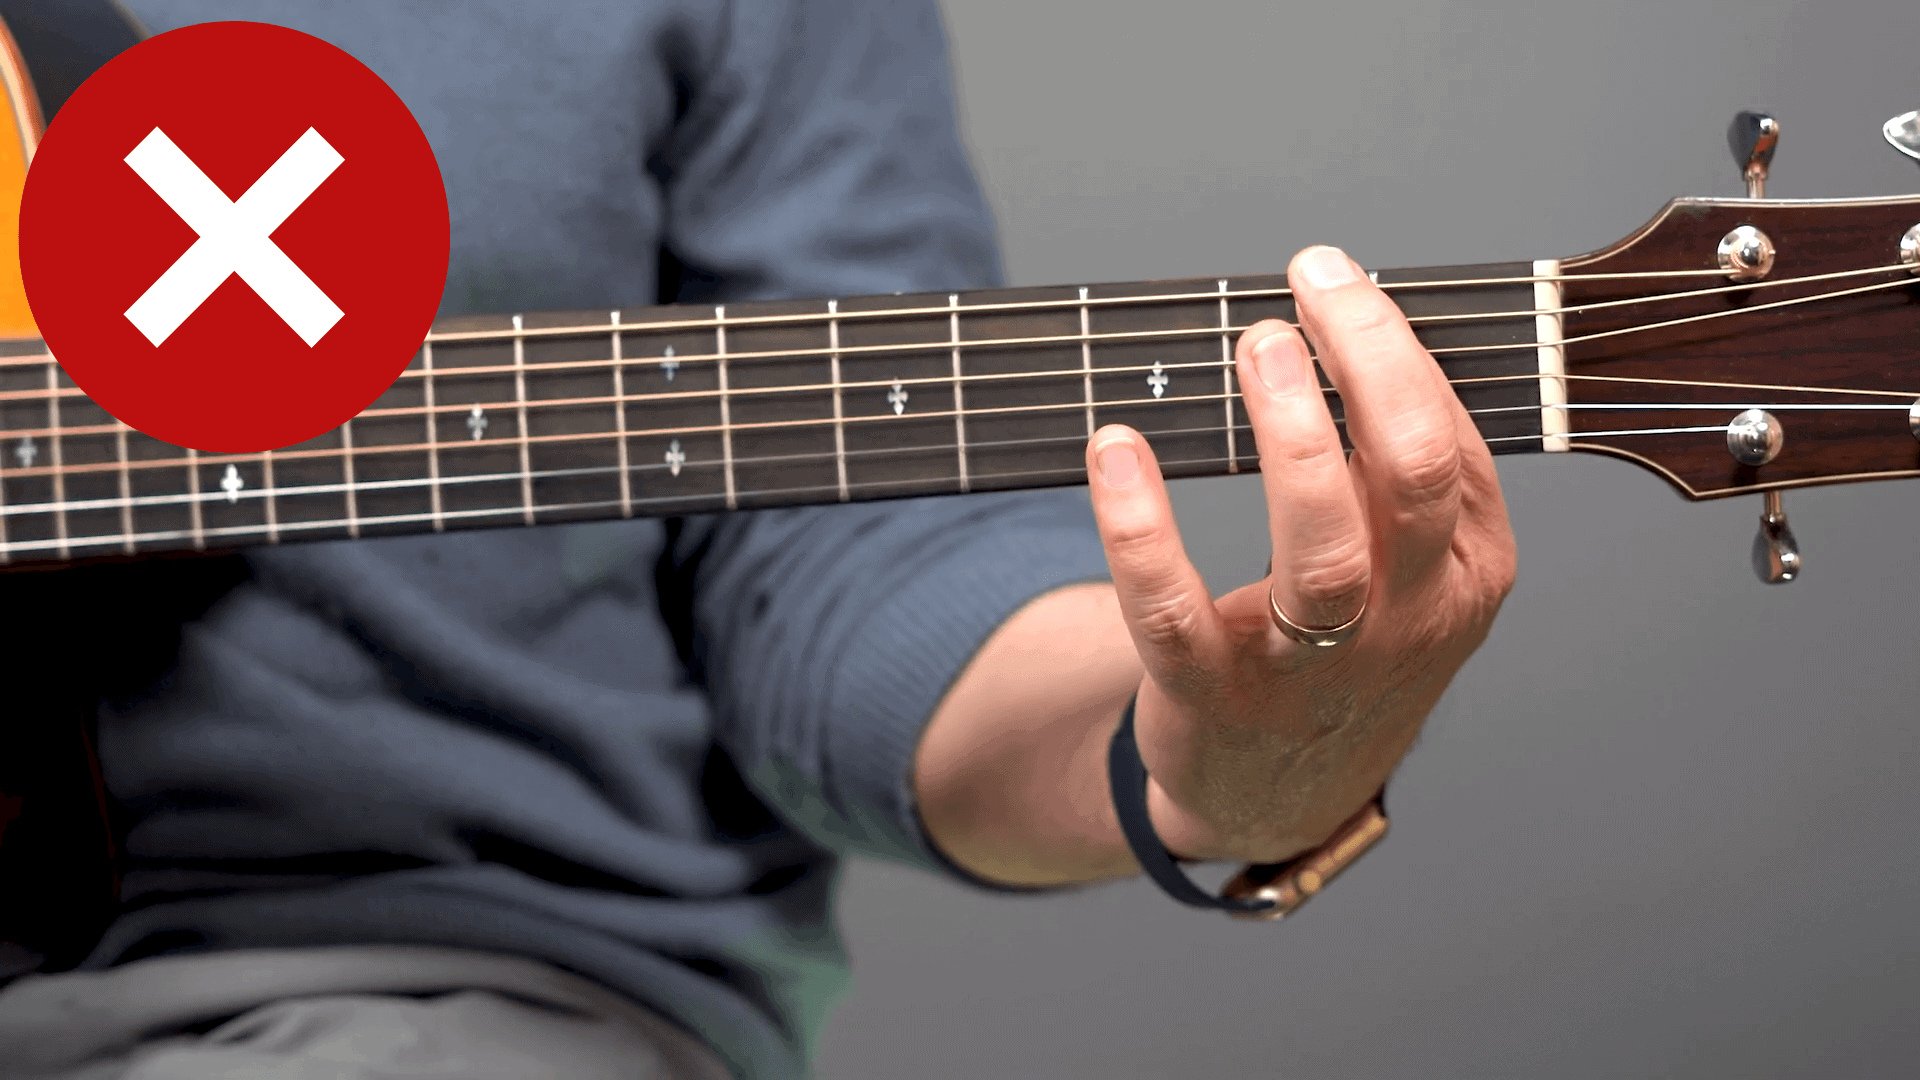
Finger too far from the fret. This is likely to cause buzzing notes.
With a lot of chords you wont be able to get all of your fingers right up to the fret. So you'll have to find the right finger positioning for each chord. This quickly becomes second nature once you get the hand of it.
The next thing to consider is what part of your fingers you should play the notes with. The general rule is to play with the tips of your fingers.
If you play with the pads of your fingers, you end up muting the next string. When you use your finger tips you get a good amount of leverage without muting any other strings.
I called this a general rule because there are some exceptions. But 9 times of out 10 you'll find this to be your best bet!
Left Hand Wrist Position On Guitar
So far we've covered thumb and finger positioning on guitar, so let's talk about the general hand placement and wrist positioning.
Should your hand wrap around the neck and fretboard? Should you only touch the guitar neck with your thumb and finger tips? The answer lies somewhere in between.
Imagine that you have a golf ball in the palm of your hand. You want about that much space between you palm and the guitar neck. Like I said earlier this will vary by person.
But the goal is to leave some room so you're not flattening your fingers or straining your wrist. Try to keep your wrist relatively straight too. It will naturally be bent, but keep it as straight as possible.
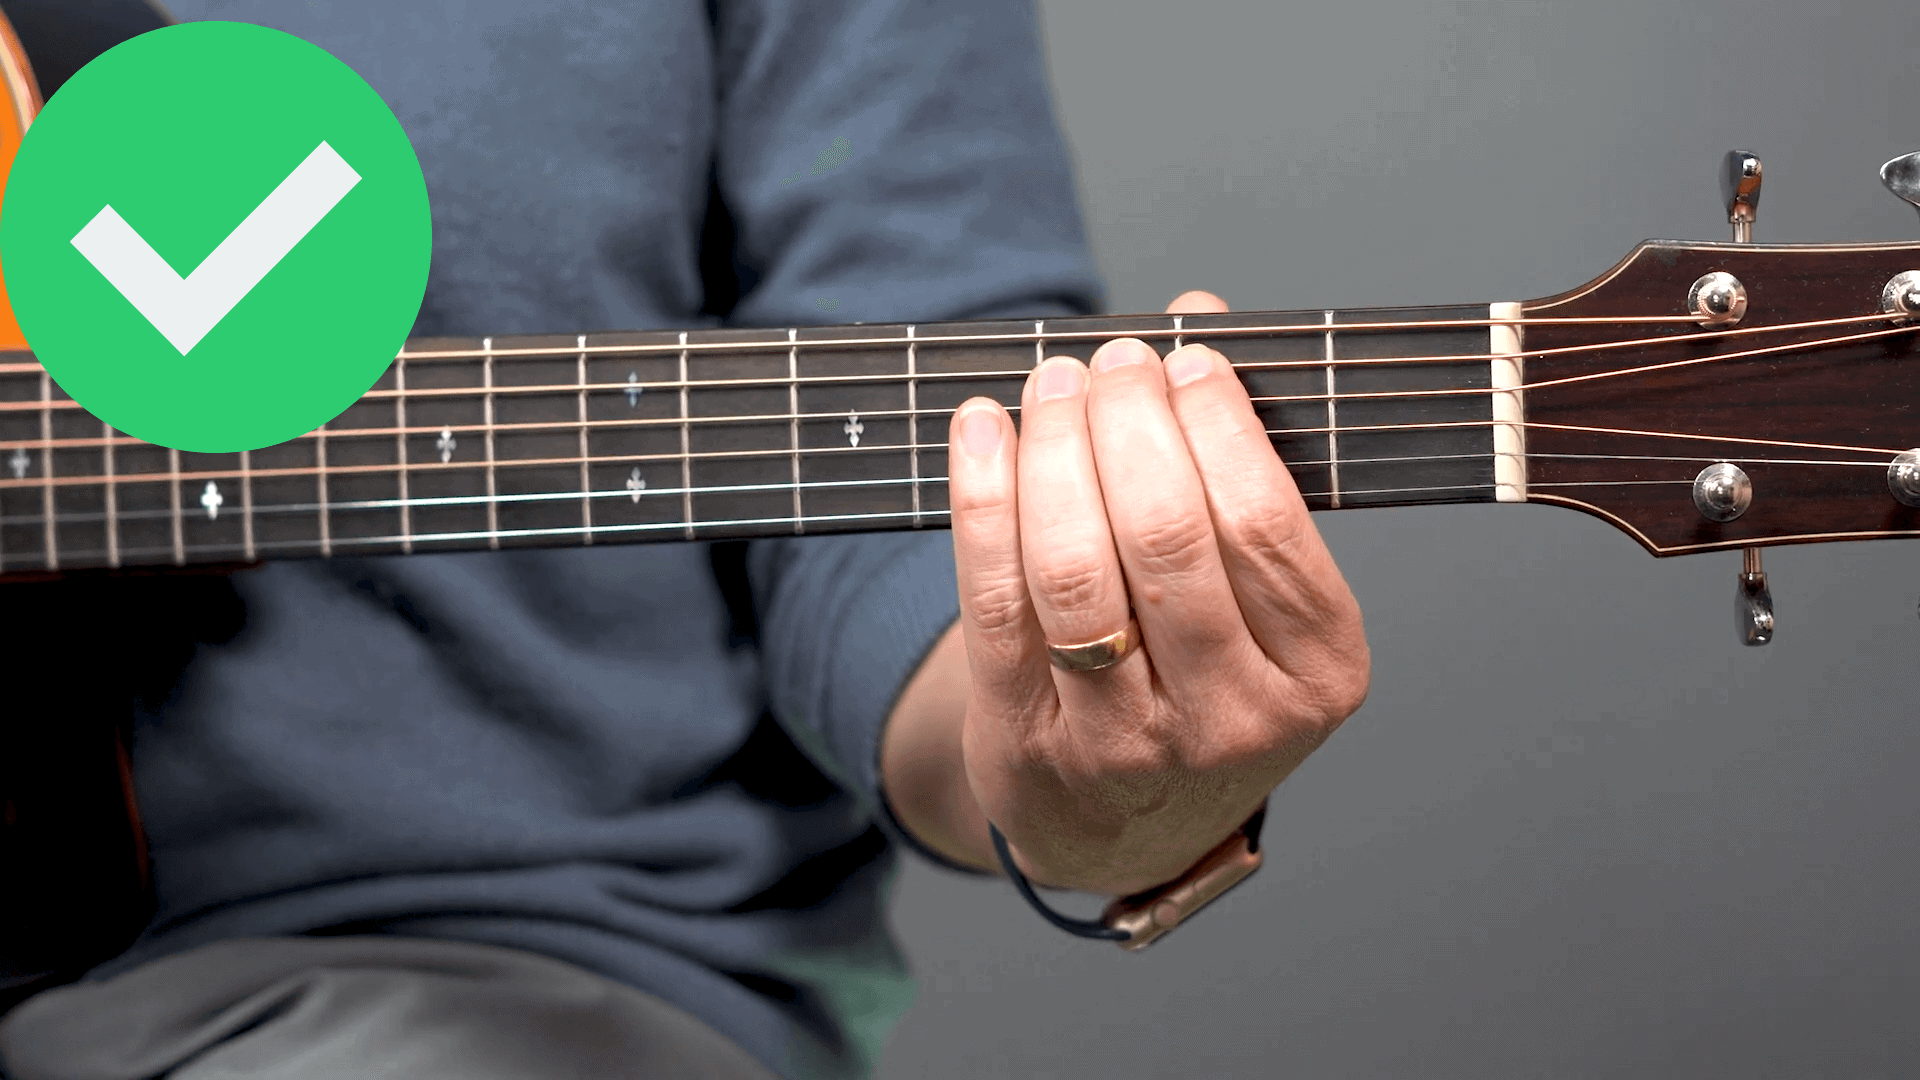
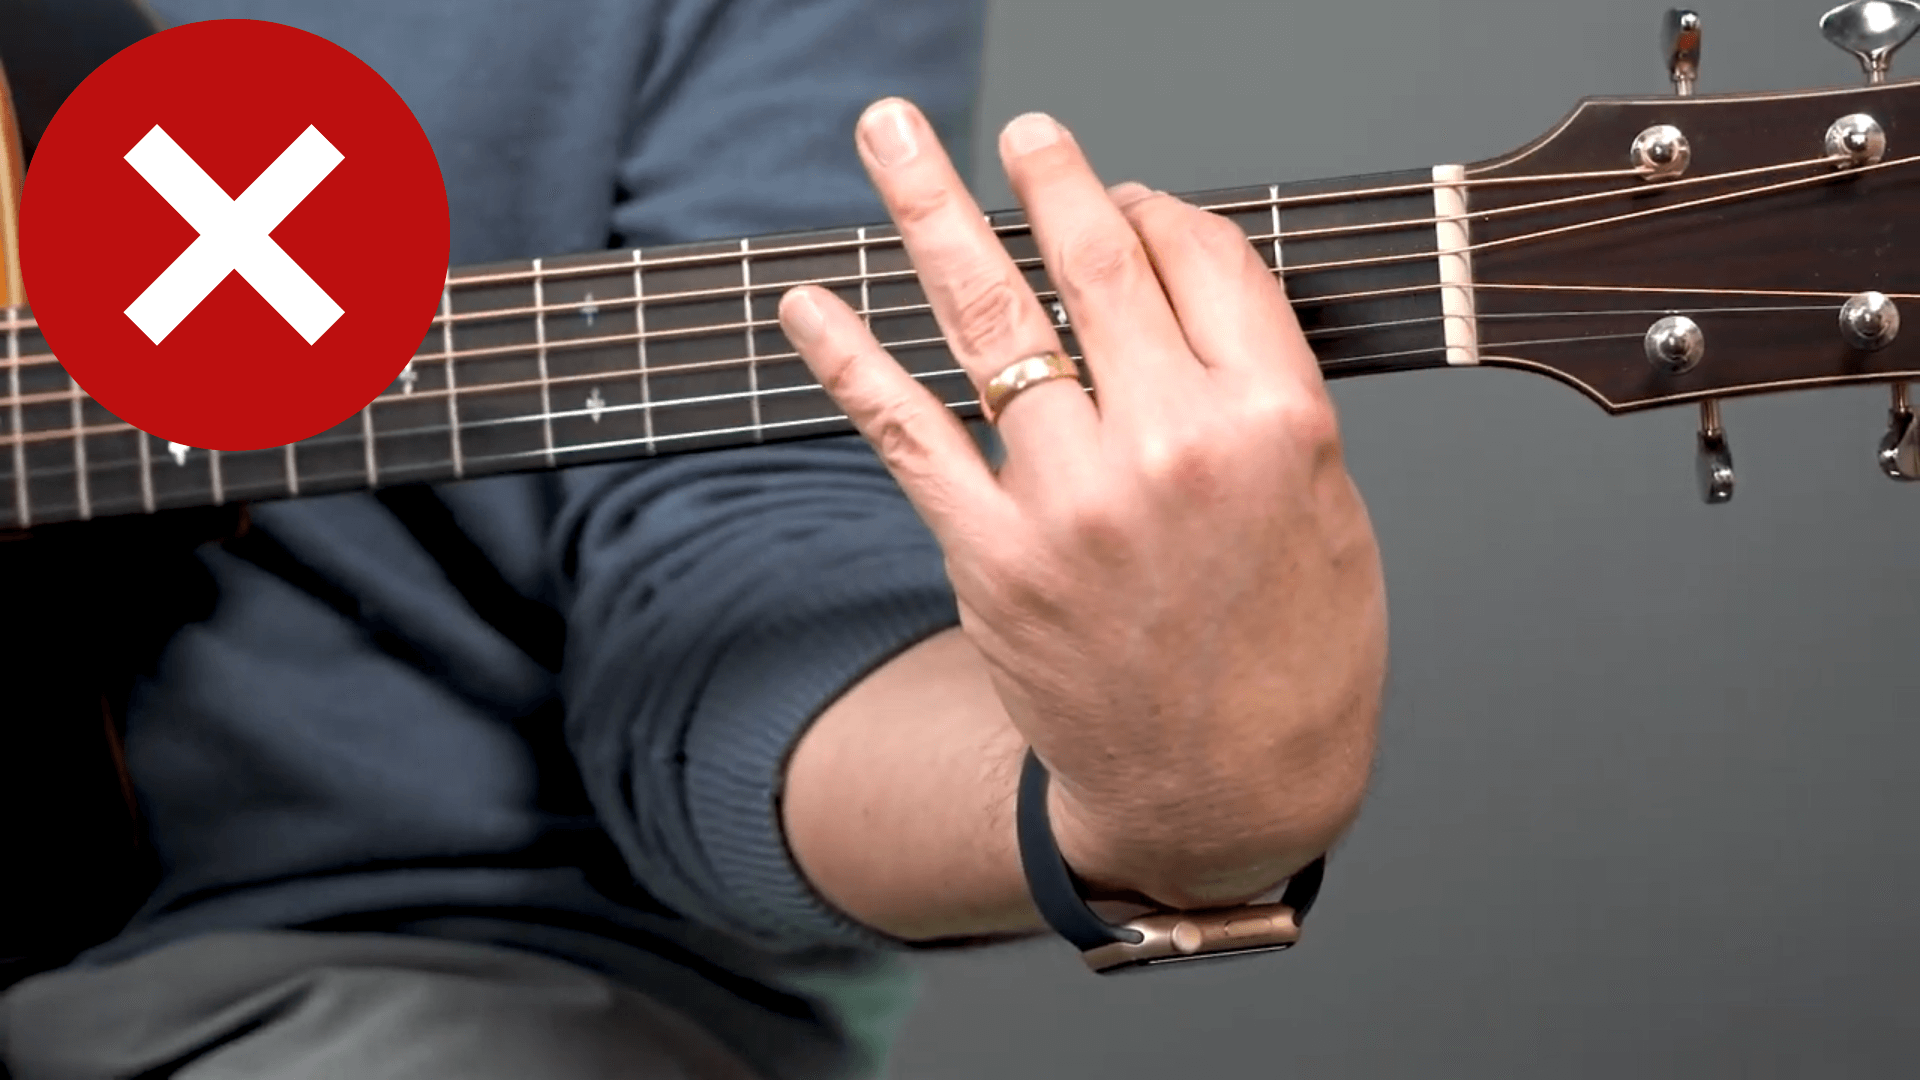
You don't want to squeeze too hard or too little. You want to be as relaxed as you can be. The more you develop hand strength the more relaxed you'll be able to be.
If you're experiencing too much pain you're probably squeezing too hard. If your chords have a lot of buzz you're pressing too lightly.
It's a balancing act, but one that will become very natural feeling over a short period of time.
You can help your left hand positioning by keeping a more upright posture. Just like my mother used to say, sit up straight and don't slouch!
Try to also keep your elbow tucked into your body. Don't flex it or create any tension, just keep it close by. That really helps reduce strain on your wrist.
And lastly, experiment with positioning. Every hand is different, and every guitar is too. You might find you have to make adjustments on your hand positioning from one guitar to another.
Proper left hand positioning is a little bit of a sliding scale. But when you have these good basics down it's easy to adjust as you need to.
Wanna take your playing up a notch?
Look no further than my course The Beginners Journey. You'll be able to take your guitar knowledge to the next level by learning to play chords in all the most common keys for guitar players, all while having fun with engaging exercises and play-along songs.
Members of Real Guitar Success Academy can access the course here.
Not a member yet? No problem...
Sign up here FREE for 14 days to RGS Academy to get instant access to this course! But that's not all - as a member of the Real Guitar Success Academy, you'll have exclusive access to Barre Chords For Everyone, Fingerstyle Adventures, and many other resources designed to help you achieve real success as a guitar player.
I’m hoping you stick around… but if not, the 2 weeks should be enough to make great progress on your guitar.

Thanks for the free tutorial on Hand/finger/wrist positioning. Ive played for many years and in general have pretty good habits it this area but i recently just started playing again in retirement an when i first grabbed my axe i really had forgotten some, and maybe most of the fundamental hand positions. It was well needed to get this refresher reminder. Actually the second time i picked her up… it was much better but I'm sure your tutorial will bring the old good habits Back Thanks
Rich Salvaggio
Most of what I know I self taught myself, and now that I am more serious I realize I have a big problem with thumb placement. I naturally have my thumb extended over the top of the neck and the neck of the guitar is often pressing against where my thumb joins my hand. I am trying to place the thumb behind the neck as per you lesson (and everyone else that knows how to play properly) but in this proper position it thrusts the neck of the guitar forward every time a chord change requires the fingers to release pressure on the neck, like say C to G. The thumb behind the neck is obviously pushing the neck forward, and the finger pressure counterbalancing, but as soon as a chord change requires the fingers to release pressure, the thumb pressure thrusts the neck forward, like pushing the guitar off my lap! This is really difficult. I imagine the solution is to figure out how to remove the thumb pressure every time the fingers are lifted. Seems impossible! But thanks for your great lessons.