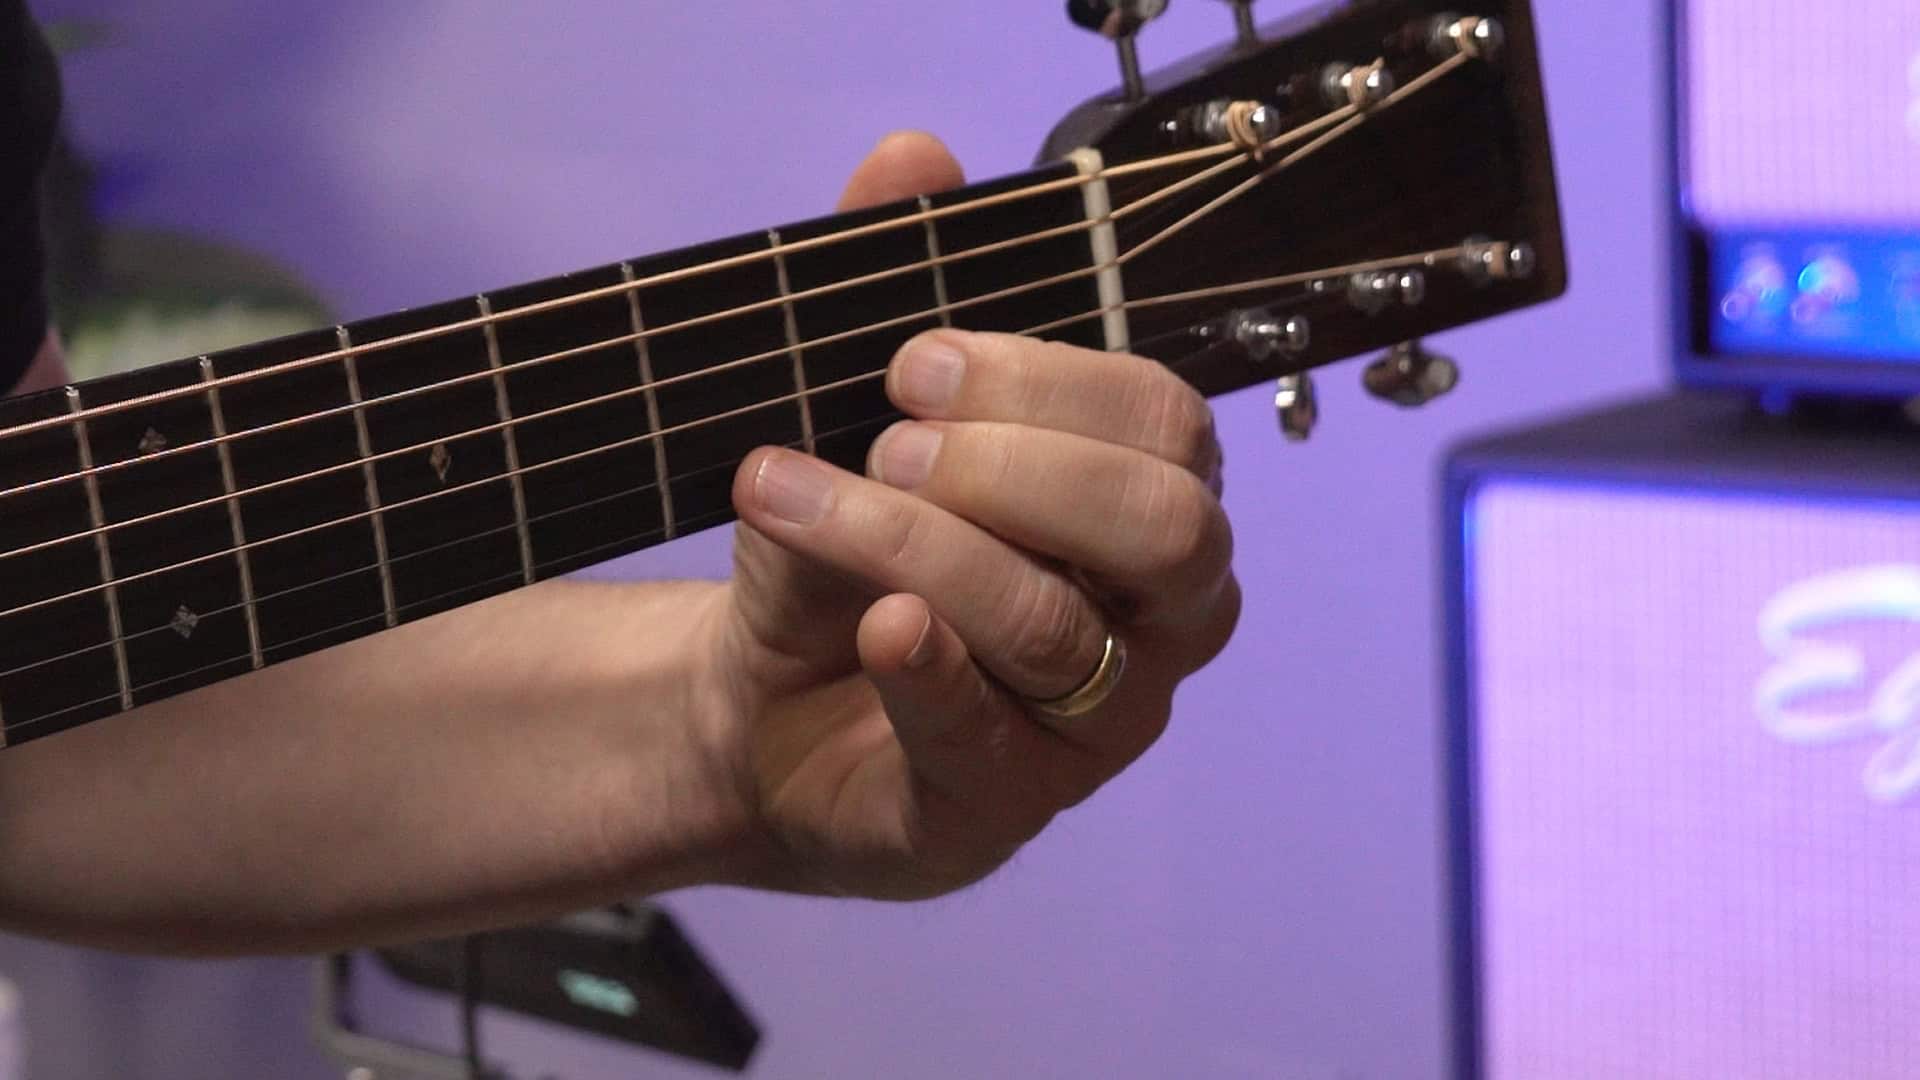
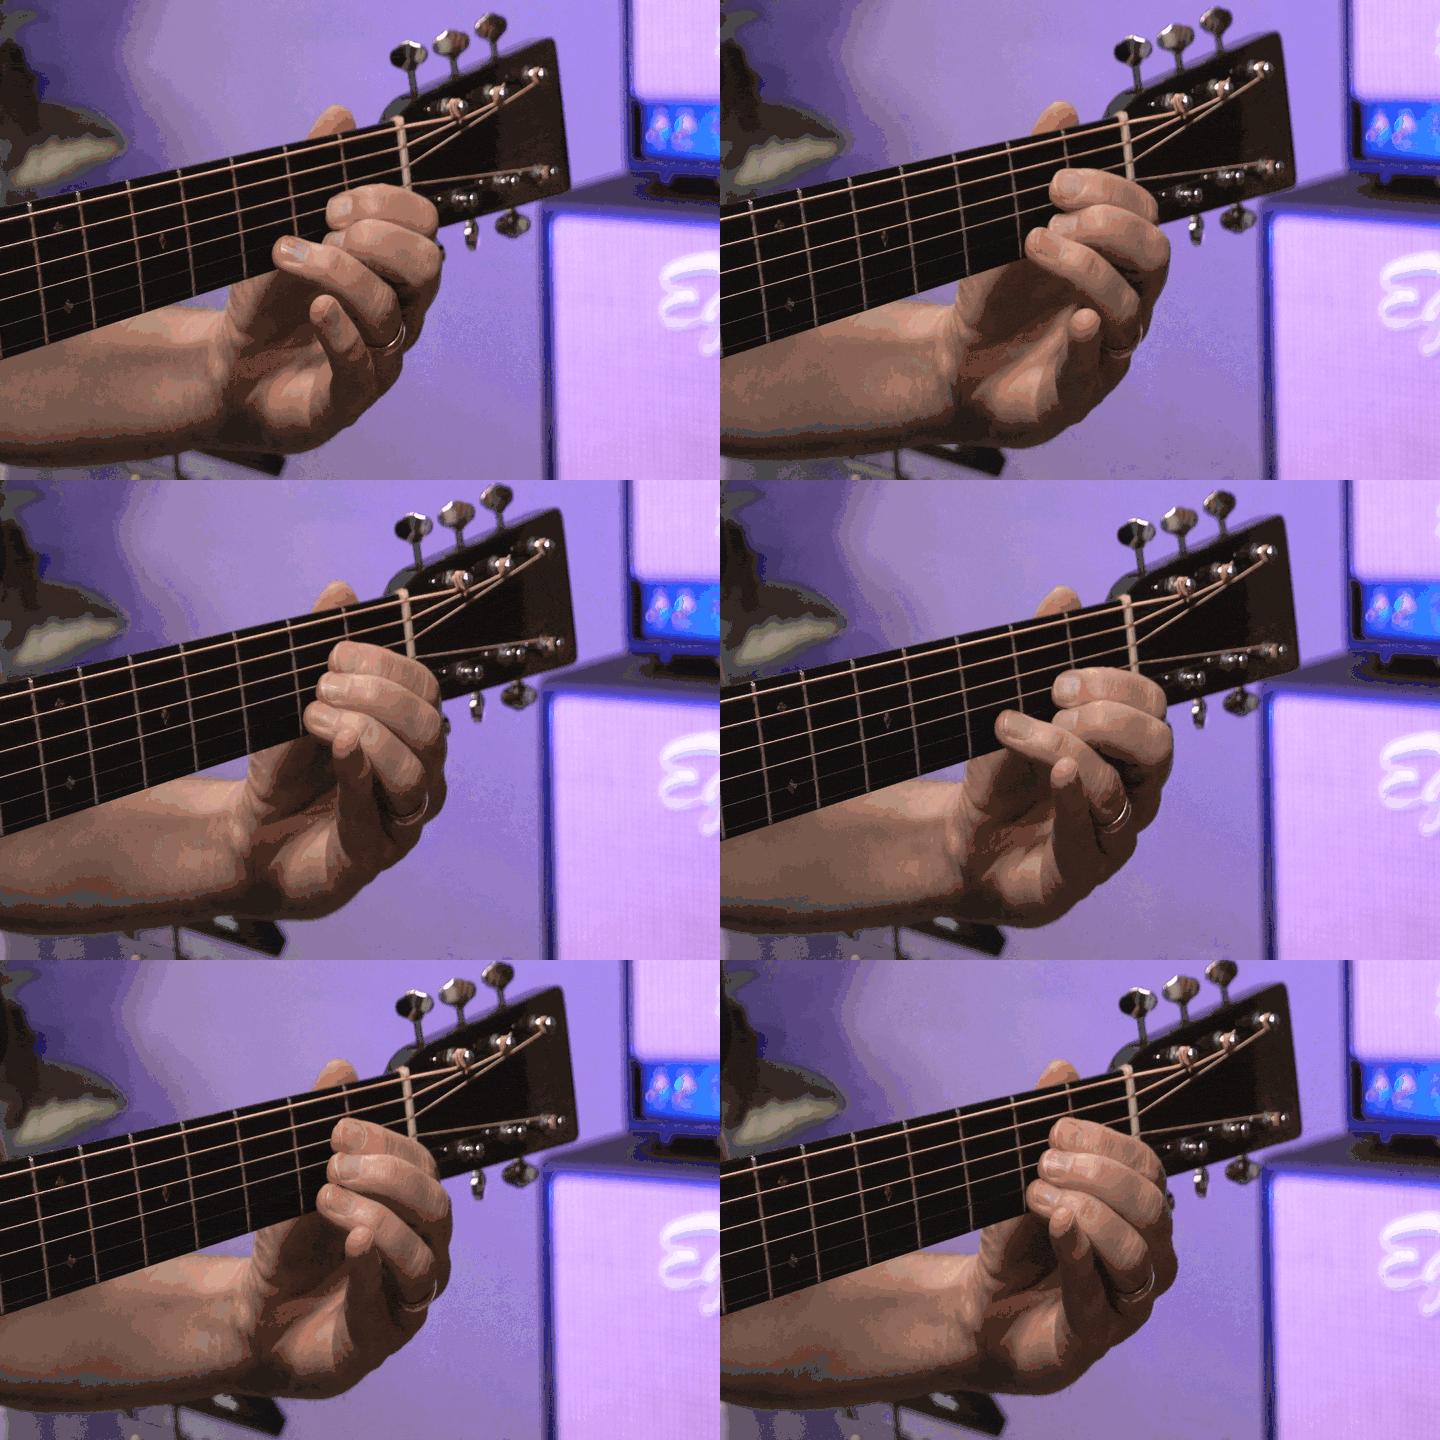
Learning to play the guitar is an exciting journey filled with milestones that mark your progress. One of the most significant challenges for beginners is mastering the smooth transition between chords.
This skill is crucial for playing songs seamlessly and with confidence. Despite being considered a very basic technique, smooth, accurate chord changing is actually very difficult for most beginners.
In this guide, I'll walk you through a step-by-step process to achieve fluid chord changes, ensuring your playing sounds polished and professional.
First, Understand the Basics
Start with Simple Chords
Before diving into techniques for smooth transitions, ensure you have a good grasp of basic chords. Focus on common open chords like C, G, D, E, A, and minor variations such as Am and Em.
To start, I recommend picking 3 chords that are in the same key so you can use them to play easy songs. For example, if you choose the chords A, D, and E, they're all in the key of A, and you can play many songs that use those three chords.
Practice these chords individually until you can play them cleanly without buzzing or muted strings.
Proper Finger Placement
Accurate finger placement is vital for clean chord sounds. Ensure your fingers are pressing down on the strings just behind the frets, not on top of them. This position provides the best tone and minimizes the effort needed to switch chords.

Muscle Memory is the Key
Slow and Steady Practice
Muscle memory is your best friend when it comes to smooth chord transitions. Start practicing chord changes slowly. For example, switch between A and D chords at a slow pace, focusing on moving each finger deliberately. Repeat this process until your fingers naturally know where to go.
The 1-Minute Chord Change Exercise
Set a timer for one minute and switch between two chords as many times as possible within that period. Count how many changes you can make and aim to improve this number over time. This exercise builds both speed and accuracy.
Step-by-Step Practice for Smooth Transitions
Here's a step-by-step approach you can use to make changing chords easier and smoother. It's based on the principle of “chunking"—breaking down a complex task into small, manageable steps and then putting them together.
Step #1: Muted Notes Exercise
- Finger the Chord: Choose and finger the chord you wish to improve. Pick through each note to ensure it sounds clear. If any note is dead or buzzing, fix it.
- Strum and Observe: Strum the chord and observe the form of your fingers.
- Relax and Mute: Maintaining the chord shape, relax your fingers so they just rest on the strings and sound muted. Relax your thumb, wrist, forearm, upper arm, shoulder, and back.
- Shift Tension: Alternate between the ringing and muted chord by shifting the tension in your fingers. This trains your fingers to be comfortable and relaxed while holding a chord shape.
- Gradual Tension: Gradually increase tension in your fingers while picking through the strings. Stop increasing tension once the notes ring cleanly, and fret with minimal exertion.
Most beginners are surprised at how little strength is required to get a clean sound. If you find you need a lot of effort, have your guitar checked by an experienced player or professional to ensure it is properly set up.
Step #2: Hovering Chord Exercise
1. Finger the Chord: Ensure all notes sound cleanly.
2. Mute the Notes: Release pressure to mute the chord as described in step #1.
3. Hover: Raise your fretting fingers about half an inch from the strings while maintaining the chord shape. Ensure all fingers lift simultaneously.

4. Relax: Hold the floating chord shape while minimizing physical effort.
5. Land the Chord: Lower your fingers back to the strings, focusing on synchronizing their movements and minimizing tension.
This exercise trains your fingers to maintain chord shapes in the air, improving your ability to land accurately and simultaneously on the strings.
Step #3: Switching Chord Exercise
1. Start Simple: Begin with easier transitions like A to D to E.
2. Hover and Switch: Hover over the first chord and transition to the second chord, keeping your fingers close to the strings.

3. Map Finger Paths: Plan the paths your fingers must follow from one chord to the next, aiming for straight lines and minimal distance from the strings.
4. Land the Chord: Land the second chord, focusing on synchronized and economical finger movements.
This practice refines your finger movements, making chord changes more efficient and fluid.
More Techniques for Smooth Transitions
Anchor Fingers
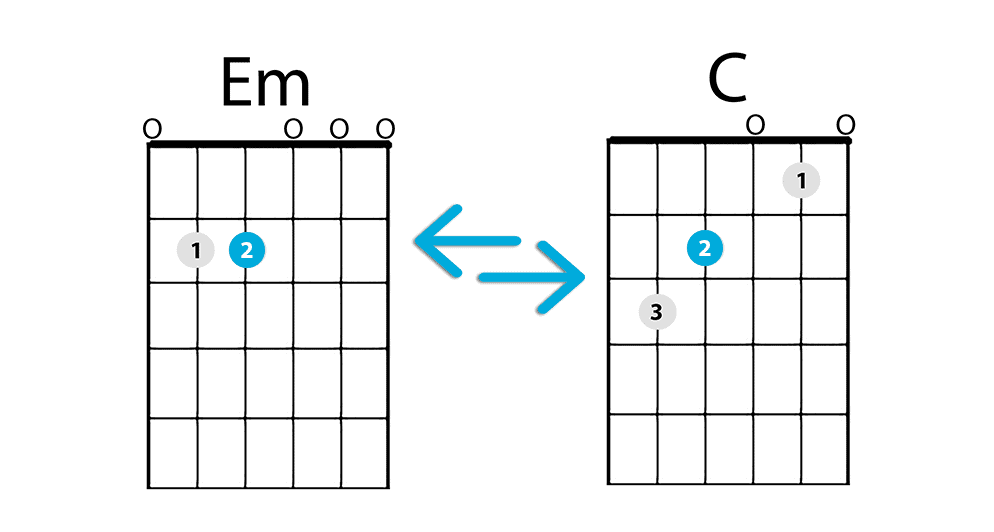
Anchor fingers are fingers that remain on the same string and fret when transitioning between certain chords.

For instance, when moving from Em to C, the middle finger can stay on the second fret of the D string. Identify and use anchor fingers to minimize movement and make transitions smoother.
Economy of Motion
Efficient finger movement is key. Practice lifting your fingers just enough to clear the strings without unnecessary high lifts. This economy of motion reduces the time and effort needed to switch chords, leading to smoother transitions.
Incorporating Rhythmic Practice
Strumming Patterns
Once you're comfortable with basic chord changes, integrate strumming patterns into your practice. Start with simple downstrokes and progress to more complex patterns. Practicing with a metronome can help you maintain a consistent rhythm.
Timing and Coordination
Play along with backing tracks or recordings of songs to improve your timing and coordination. This practice helps you learn to switch chords in sync with the music, a crucial skill for performing.
Overcoming Common Challenges
Dealing with Fret Buzz and Muted Strings
Fret buzz and muted strings are common issues for beginners. To overcome these, ensure your fingers are pressing down firmly on the strings and not touching adjacent strings. Adjust your hand position as needed to achieve a clear sound.
Building Finger Strength
Switching chords smoothly requires finger strength and dexterity. Incorporate finger exercises into your routine, such as a good warm up exercise (like this or these) or playing scales. Strong fingers can press down on the strings with less effort, making transitions easier.
Practicing with Purpose
Setting Goals
Set specific, achievable goals for your practice sessions. For example, aim to master the transition between two chords within a week. Having clear objectives keeps you motivated and focused.
Regular Review and Adjustment
Periodically review your progress and adjust your practice routine as needed. If you find certain chord transitions particularly challenging, dedicate extra time to them. Consistent review and adjustment ensure continuous improvement.
Consistency is Key
Daily Practice Routine
Consistency is crucial for mastering smooth chord transitions. Aim to practice daily, even if it's just for a few minutes. Regular practice helps reinforce muscle memory and maintain your progress.
Staying Motivated
Learning to play the guitar can be challenging, but staying motivated is essential. Set long-term goals, such as learning to play a favorite song or performing for friends and family. Celebrate your achievements, no matter how small, to keep your enthusiasm high.
Final Thoughts
This process may seem a bit daunting if you have a casual hankering to play your favorite pop tune. The complexity of basic chord changes is often glossed over and under-appreciated, leading many beginners to give up due to frustration. However, with specific physical practices and dedicated effort, smooth chord transitions can be within everyone's reach.
If you picked up chord changes without having to put much thought into it, try these exercises. If you can't do them easily right away, you have room to improve.
Mastering smooth guitar chord transitions is a journey that requires patience, practice, and persistence. By following the steps outlined in this guide, you'll develop the skills needed to switch chords effortlessly, enhancing your overall playing experience.
Remember, every guitarist faces challenges along the way, but with dedication and consistent practice, you'll achieve your musical goals. Happy strumming!
